Ever since I got into Linux and wanting to learn more and get better at it, I always held an interest towards Slackware. Being one of the oldest distributions around, with a hardcore community and an old-school reputation, it always came in the top answers when it comes to learning Linux without fancy hand holding and the like (along with Arch). But I always liked Slackware, its name is awesome, and well, slackwarez for a slacker! So I’ve finally set up some time to install it in a VM, and will get to work on it to deepen my Linux knowledge.
So in this post I will list the steps I went through to install Slackware 14.1 in VMware.
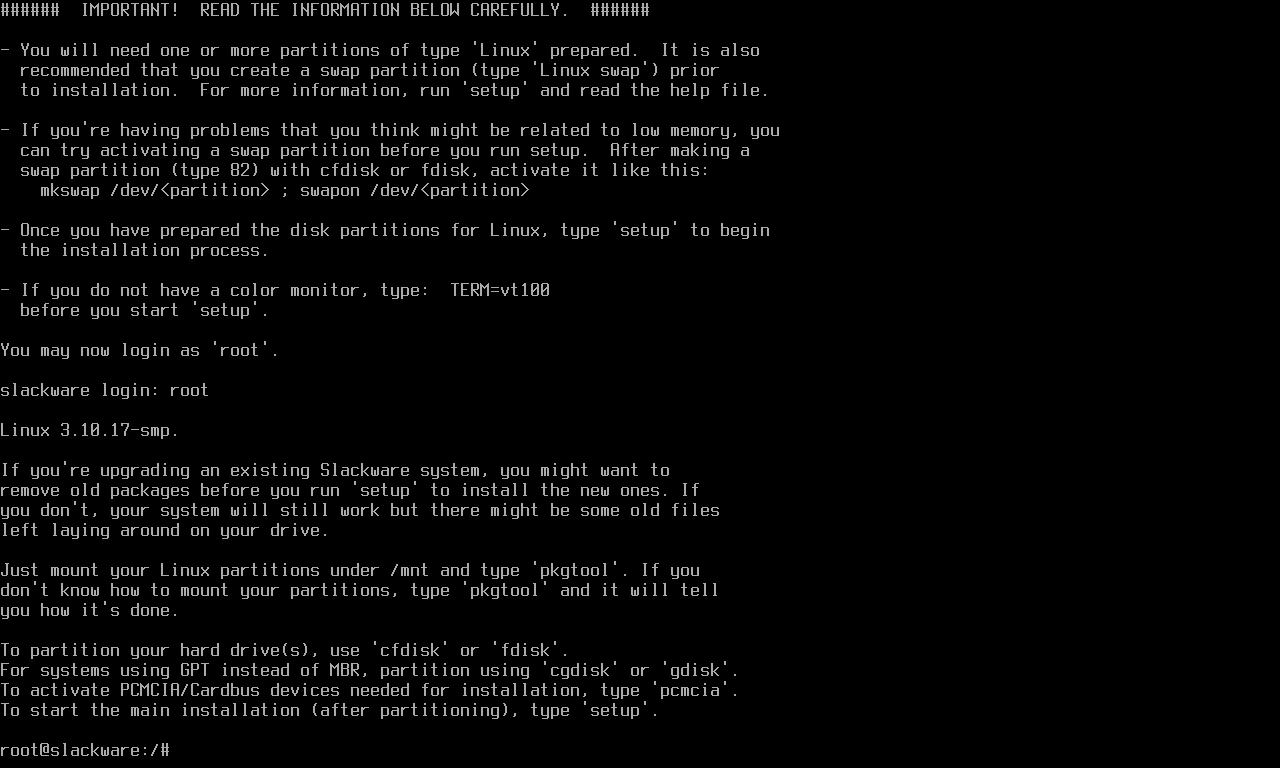
The cool thing about this installation was that I had to do some things manually without a GUI where all you do is press next. After selecting your installation media, which was the DVD ISO for me, power up the machine and you will get some command line action!
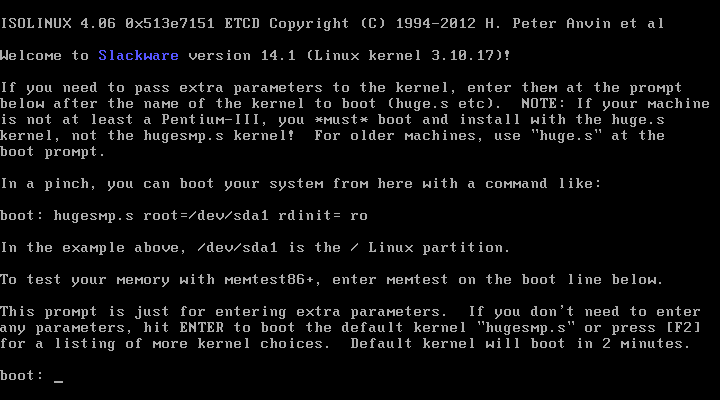
The first screen is for selecting which kernel to boot to
Select keyboard map

Log in as root

Partitioning
You have to set up partitions before beginning the installation process
I will use cfdisk for this. As you can see, my disk is /dev/sda and is yet yet unpartitioned, so just a big lump of free space.
cfdisk – display or manipulate a disk partition table
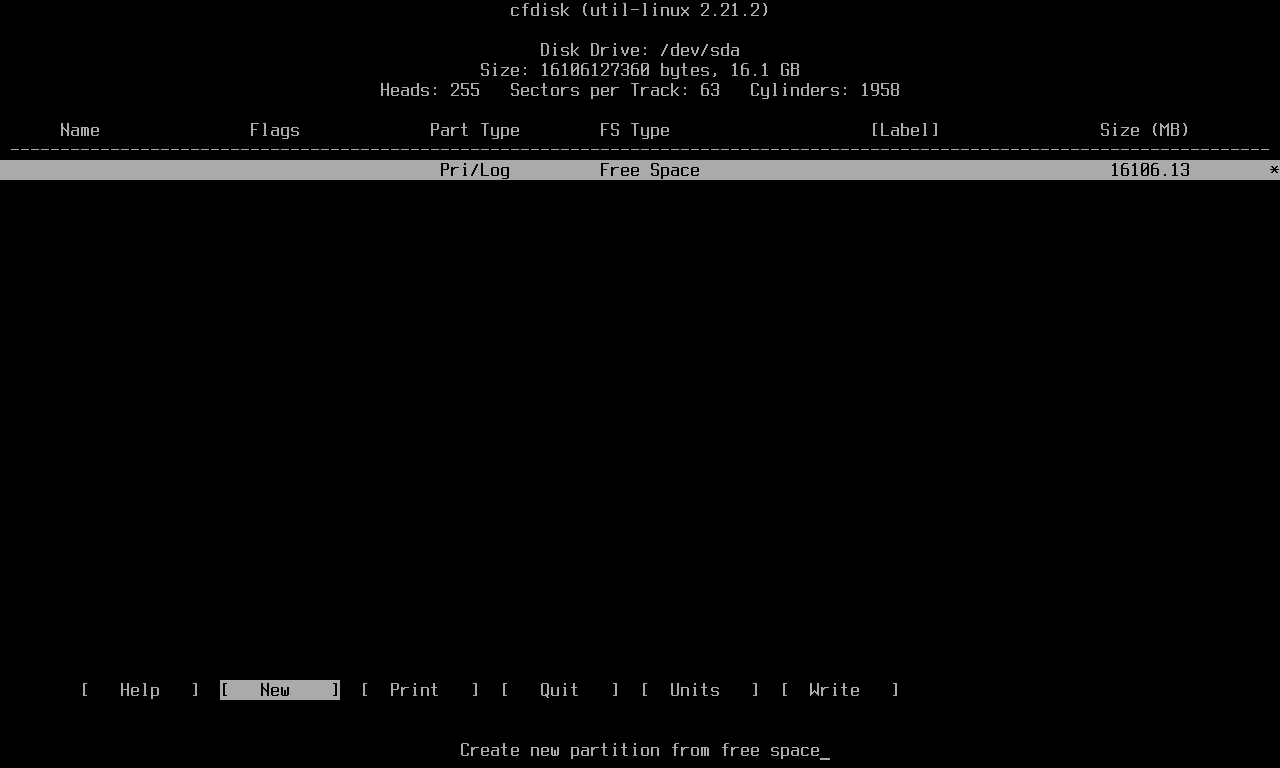
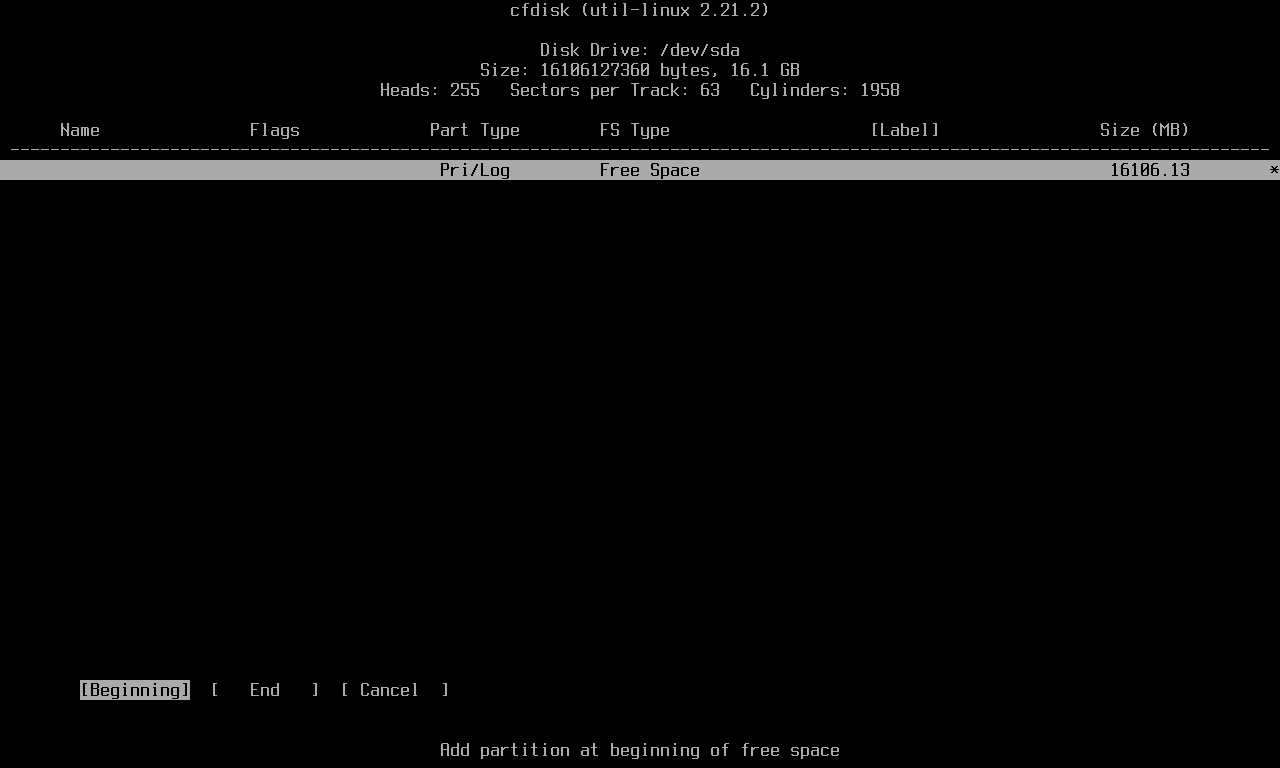
I will make 3 partitions, for swap, root and home. Select [New] to create a new partition. The MBR partitioning scheme supports up to 4 primary partitions, and if you need more than that you can make one of them an extended partition and create logical partitions inside it. Choose [Primary] to continue

Since this will be the swap partition, I will make it a size of 512 MB.

Next I selected to place it at the beginning of the drive, for simplicity. I’ve also read that doing so might make it faster.
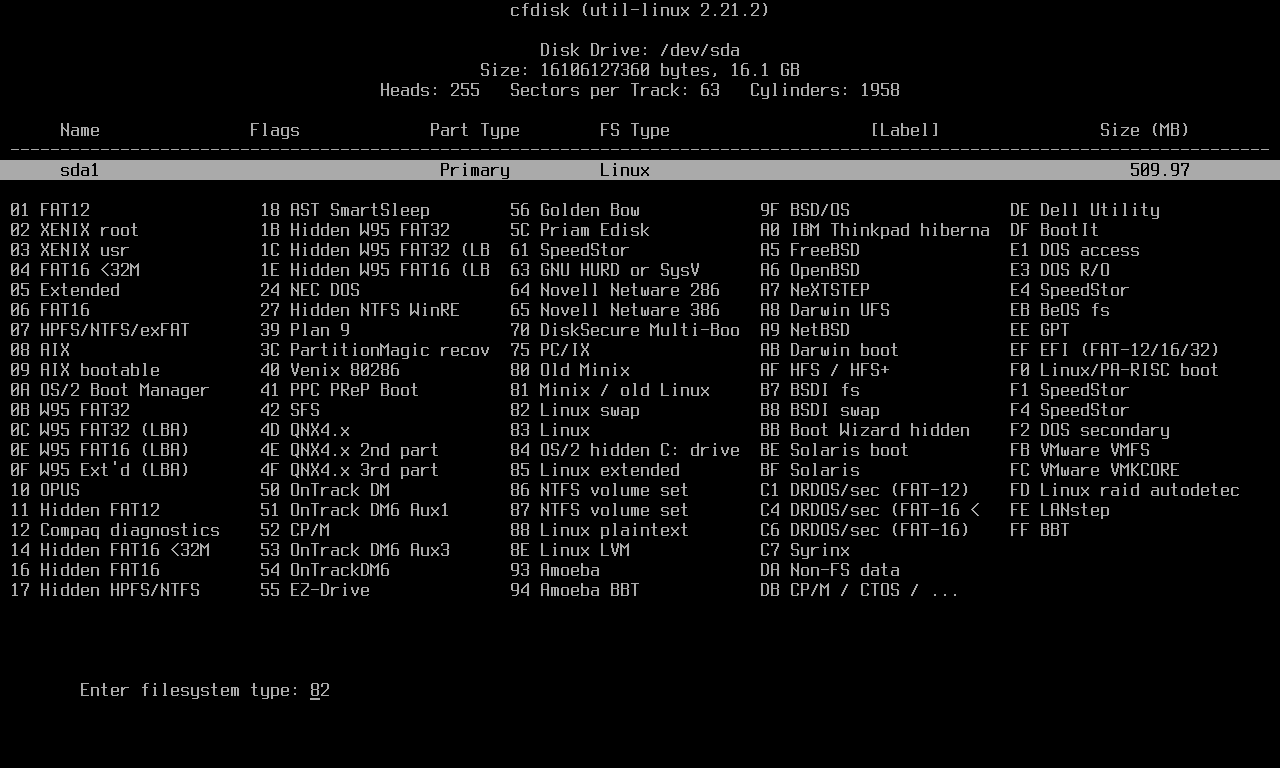
Note how the first partition labeled sda1 was created. Next you have to choose the partition’s type

See how many different file systems can be created. Choose 82 for swap.
Next make the root and home partitions, as described above. Only difference will be that you need to make the root partition bootable
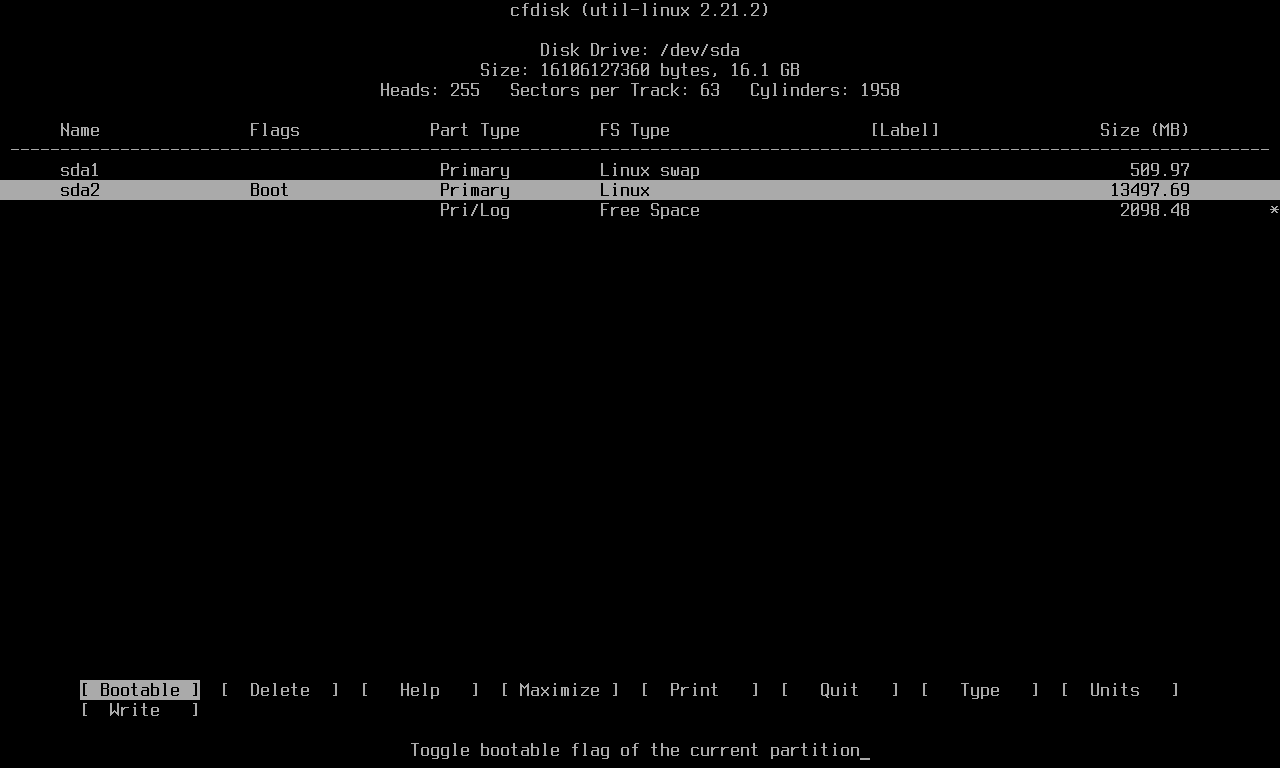
Now write the changes to disk. You will be asked to confirm that you want to write the data

After it’s done you will see a message at the bottom: “Wrote partition table to disk”. You can quit cfdisk now
Setup
Type setup to begin the installation setup process
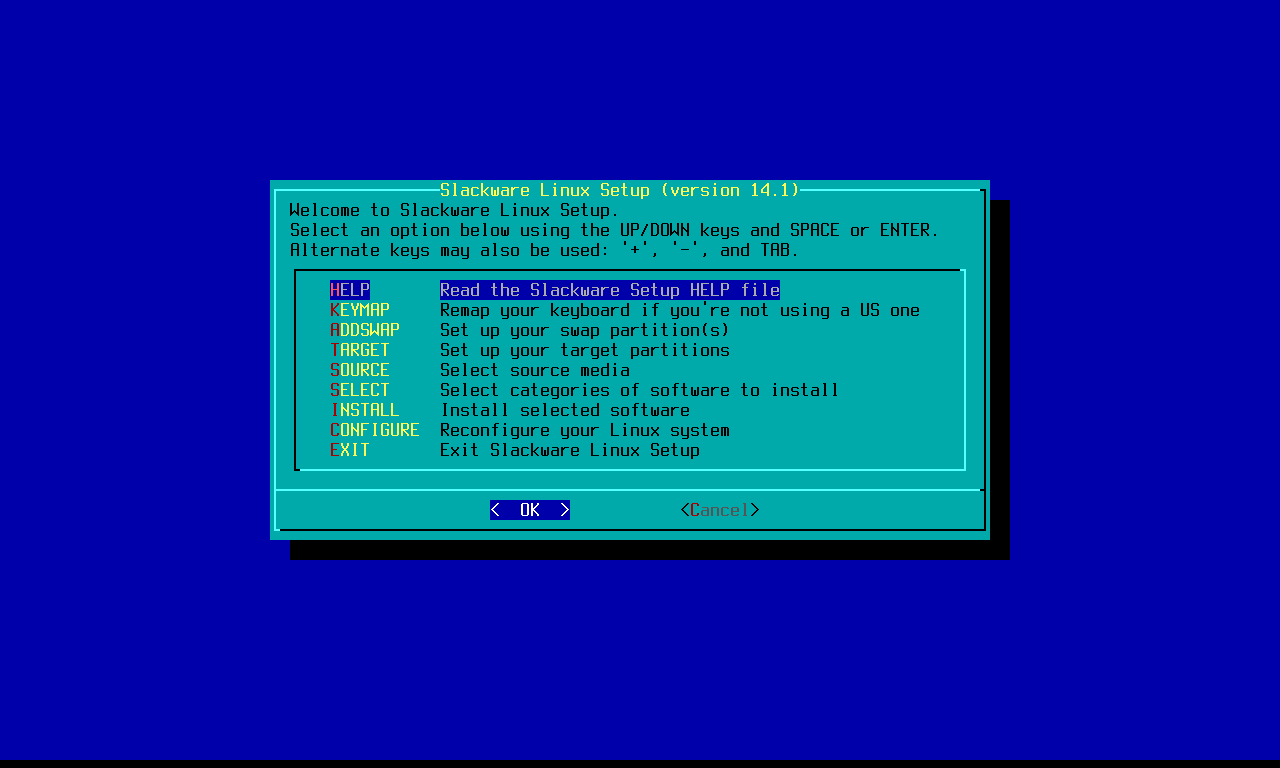
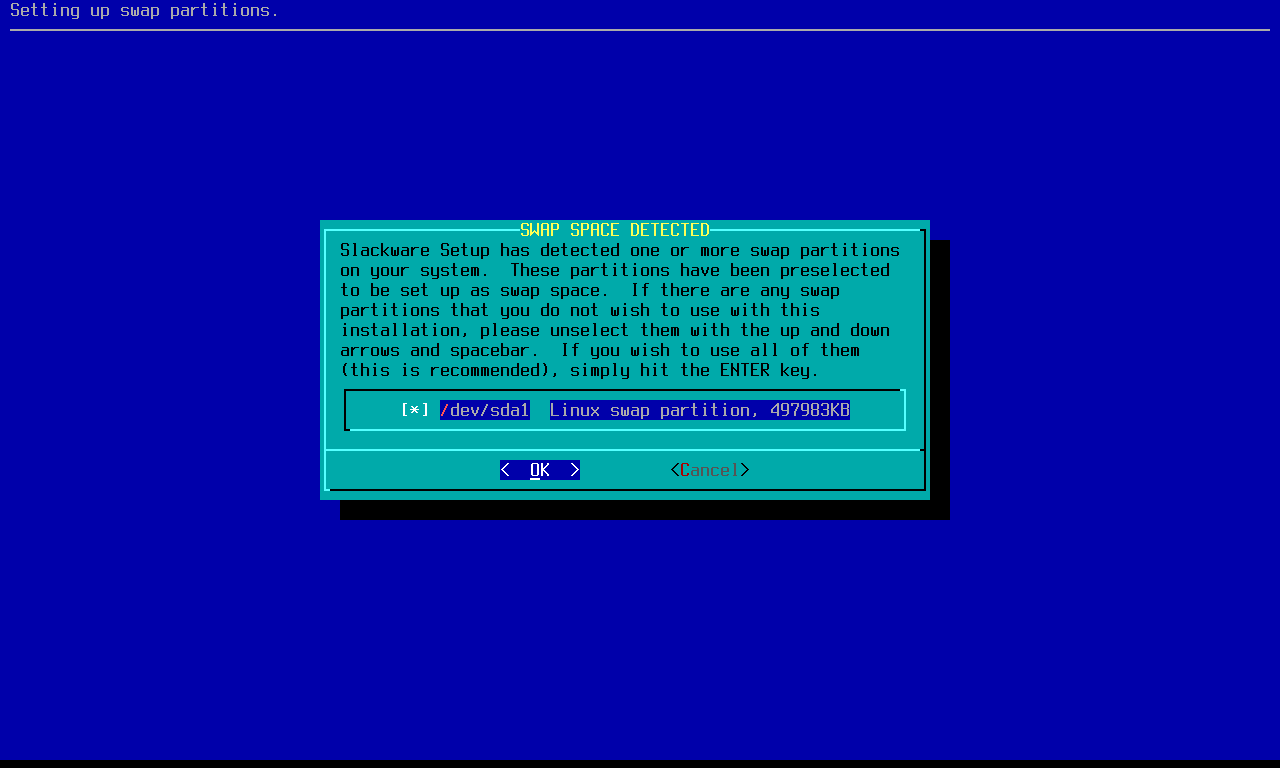
Choose ADDSWAP to format the swap partition that was created earlier. It will be automatically detected by the setup wizard
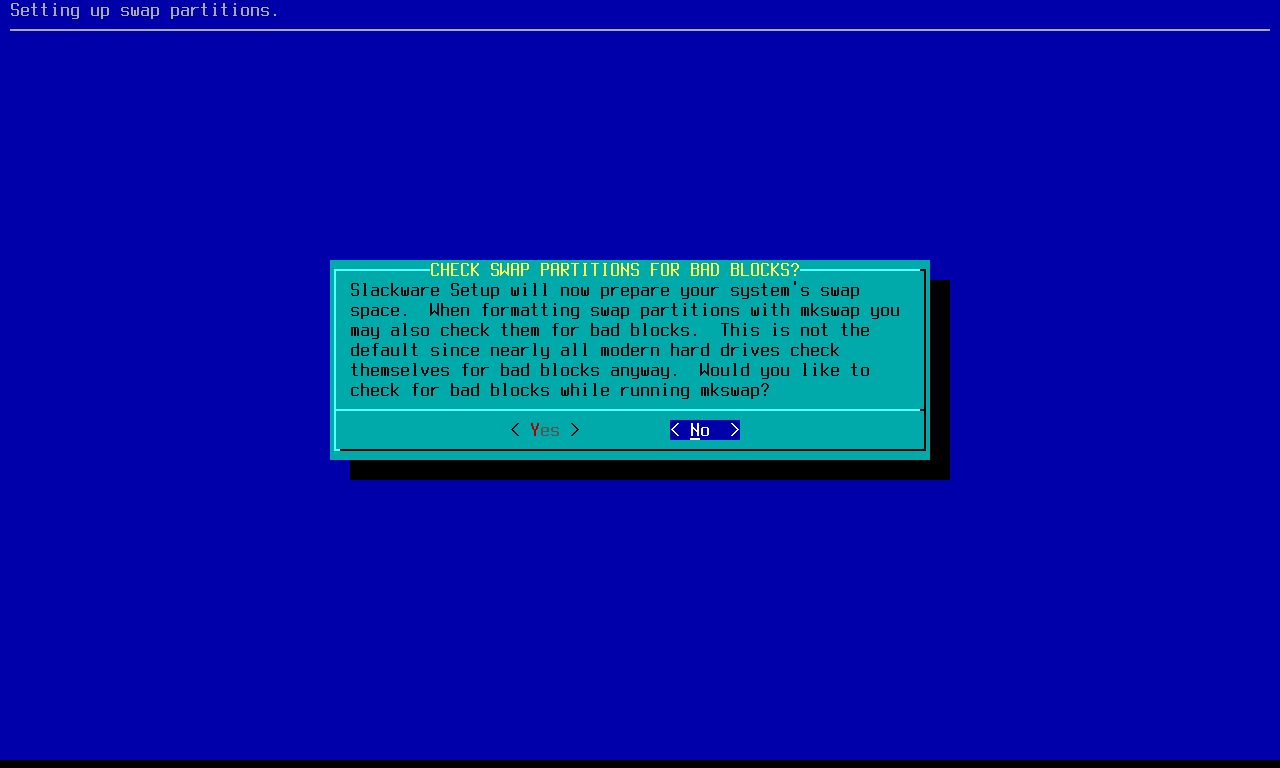
You can choose to check for bad blocks if you want, but I skipped it
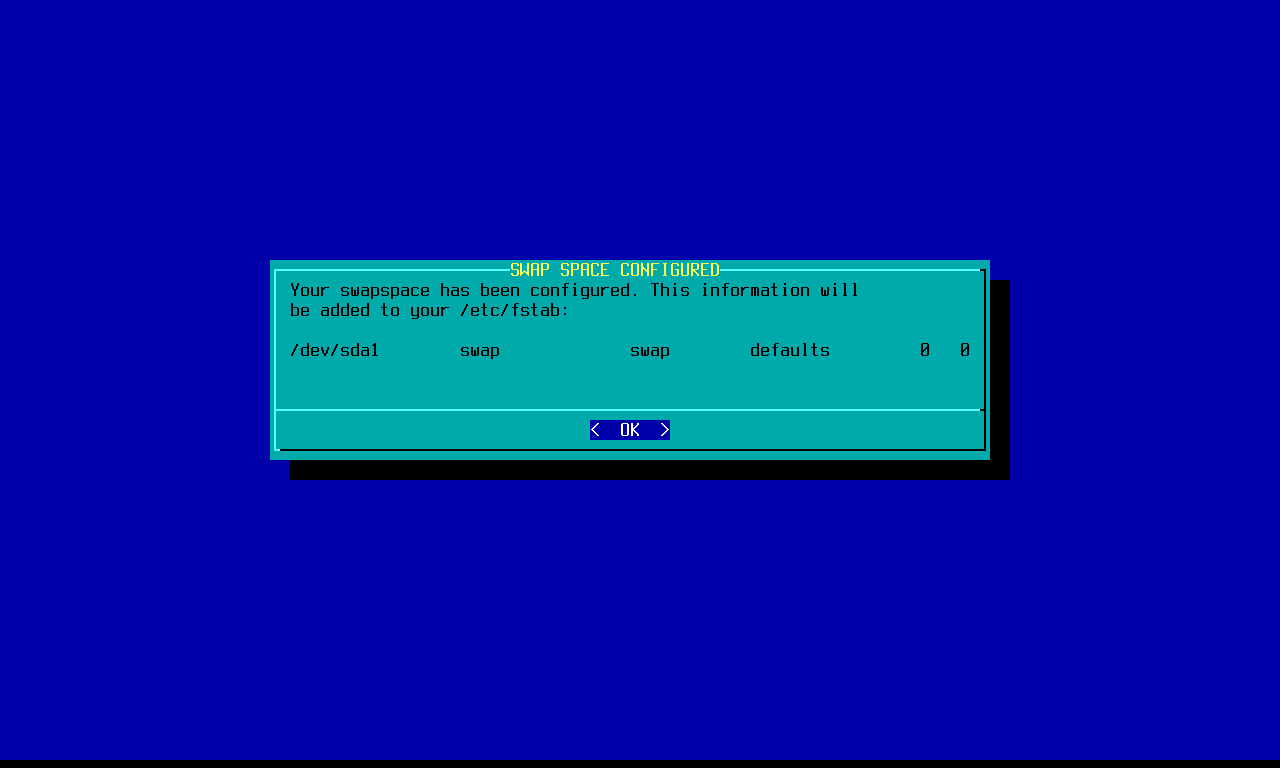
You will get a message when the swap space is configured
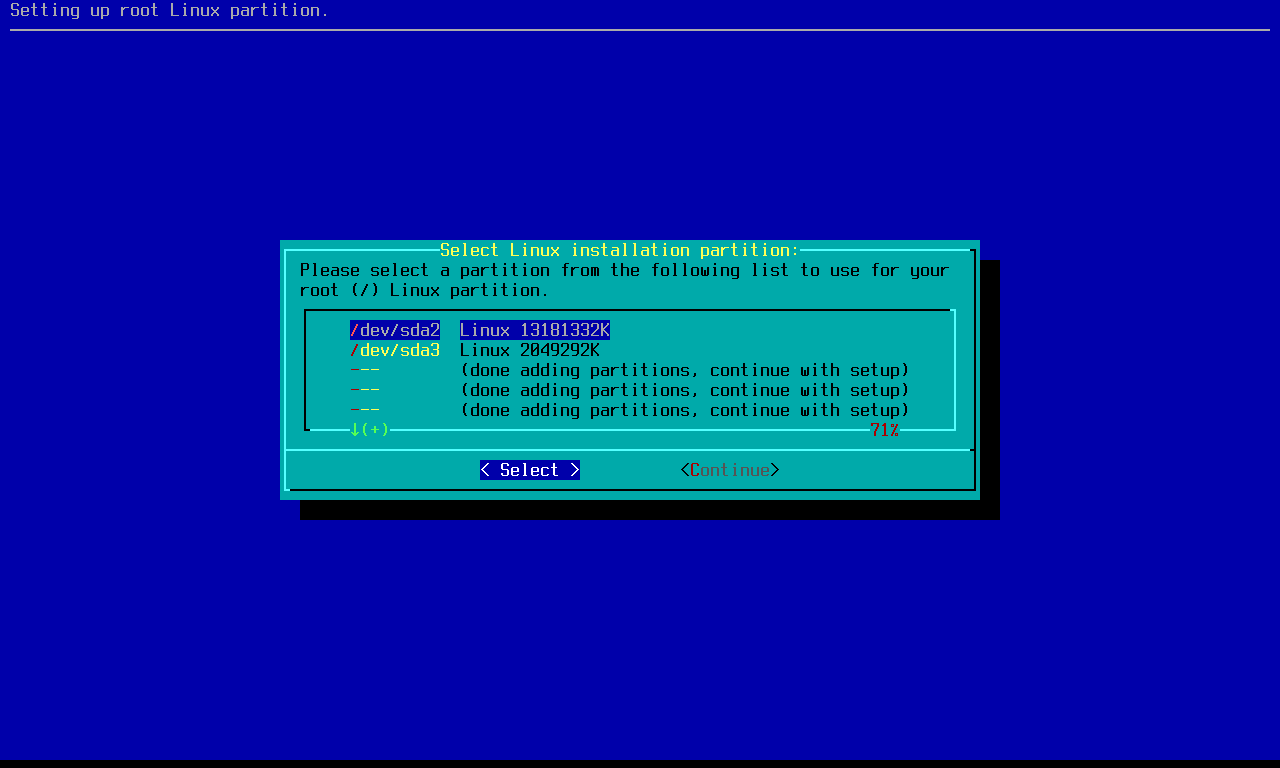
Next you have to choose the root partition, which in my case is sda2
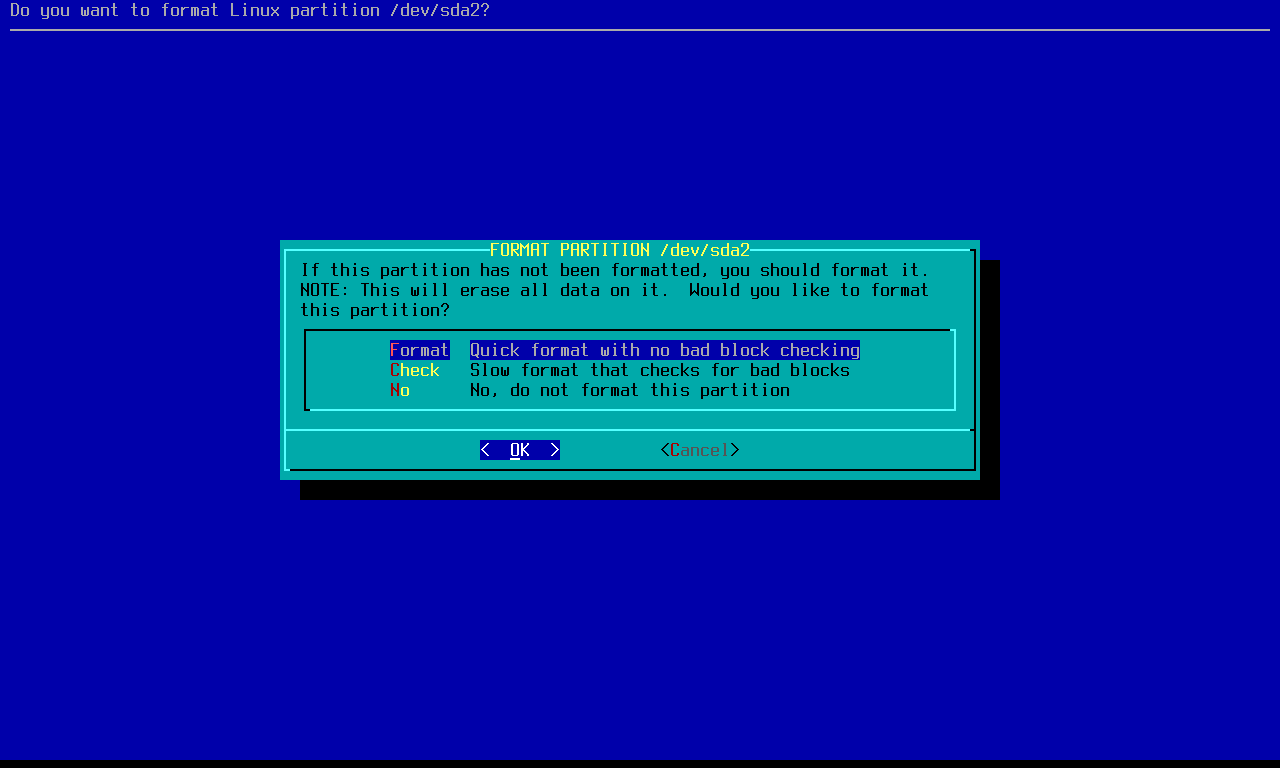
I selected the quick format option
For the filesystem I chose ext4
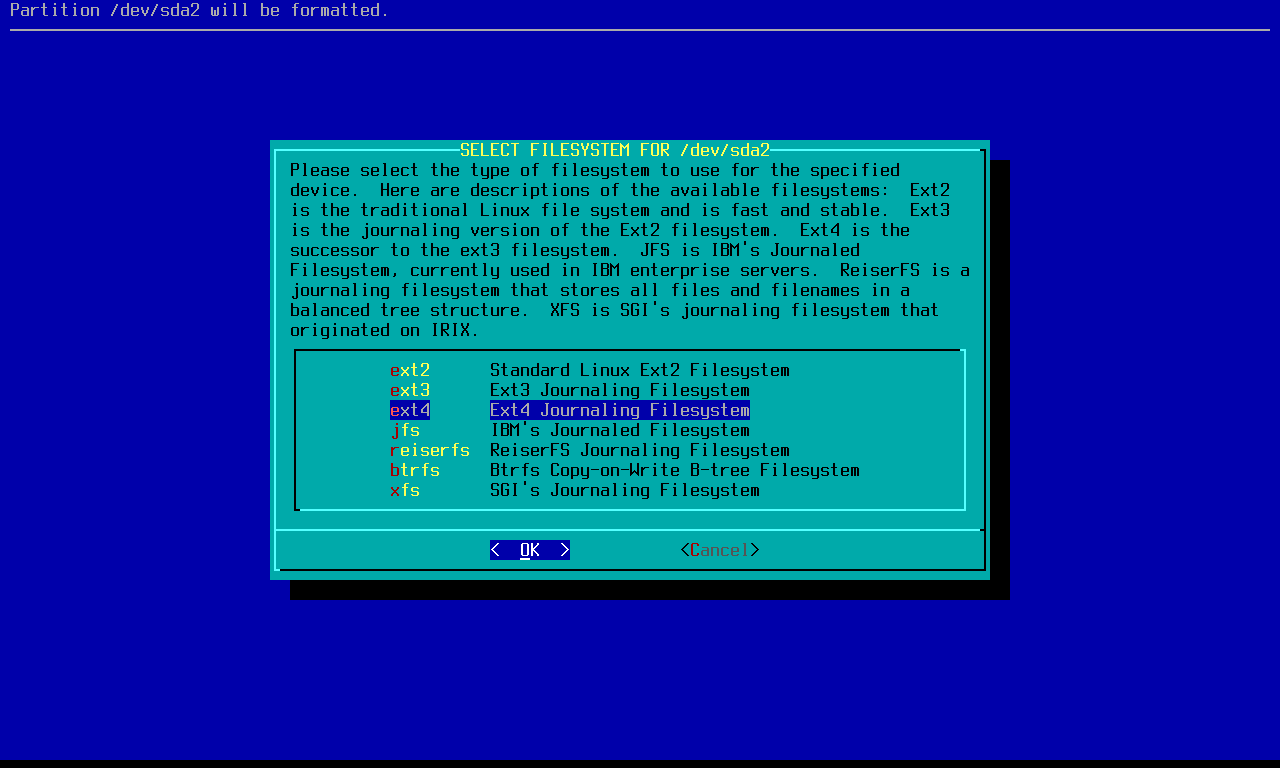
The last partition is the home one
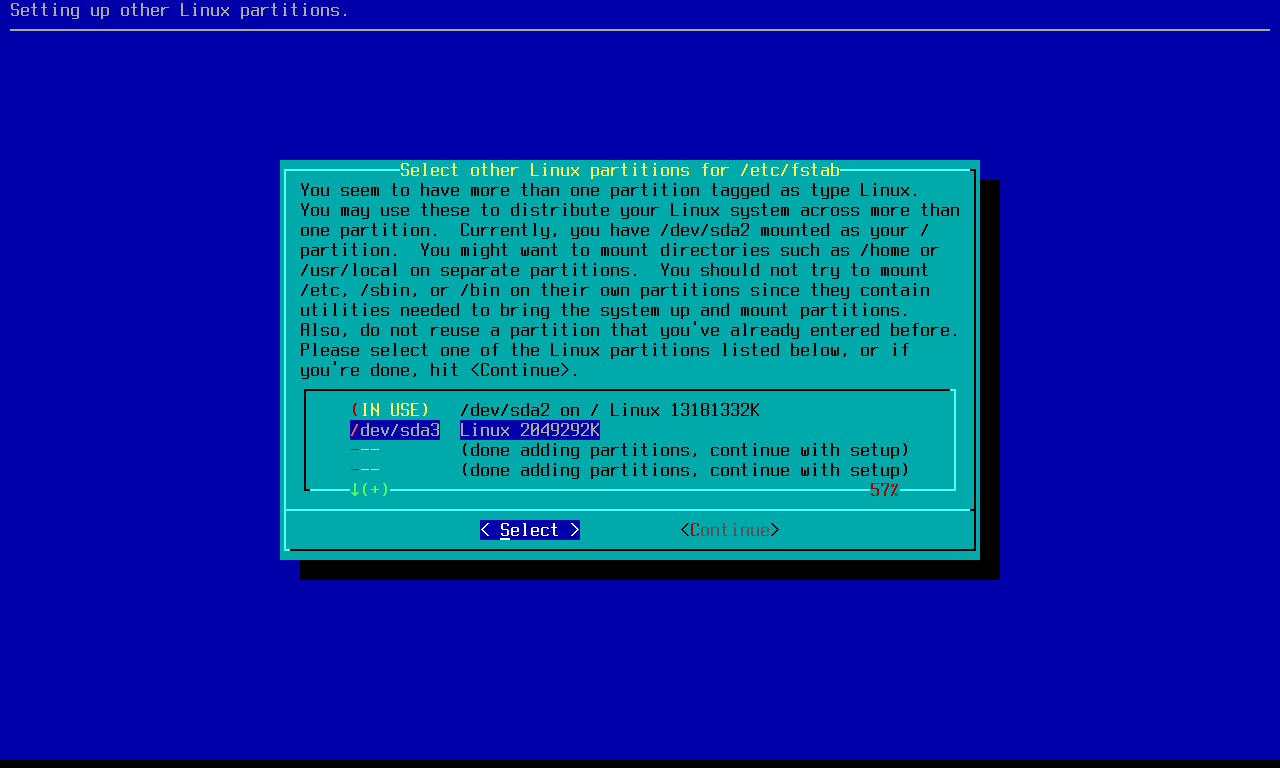
After formatting and choosing its filesystem, you have to specify where you want it mounted. Type /home

The setup of the partitions is now complete
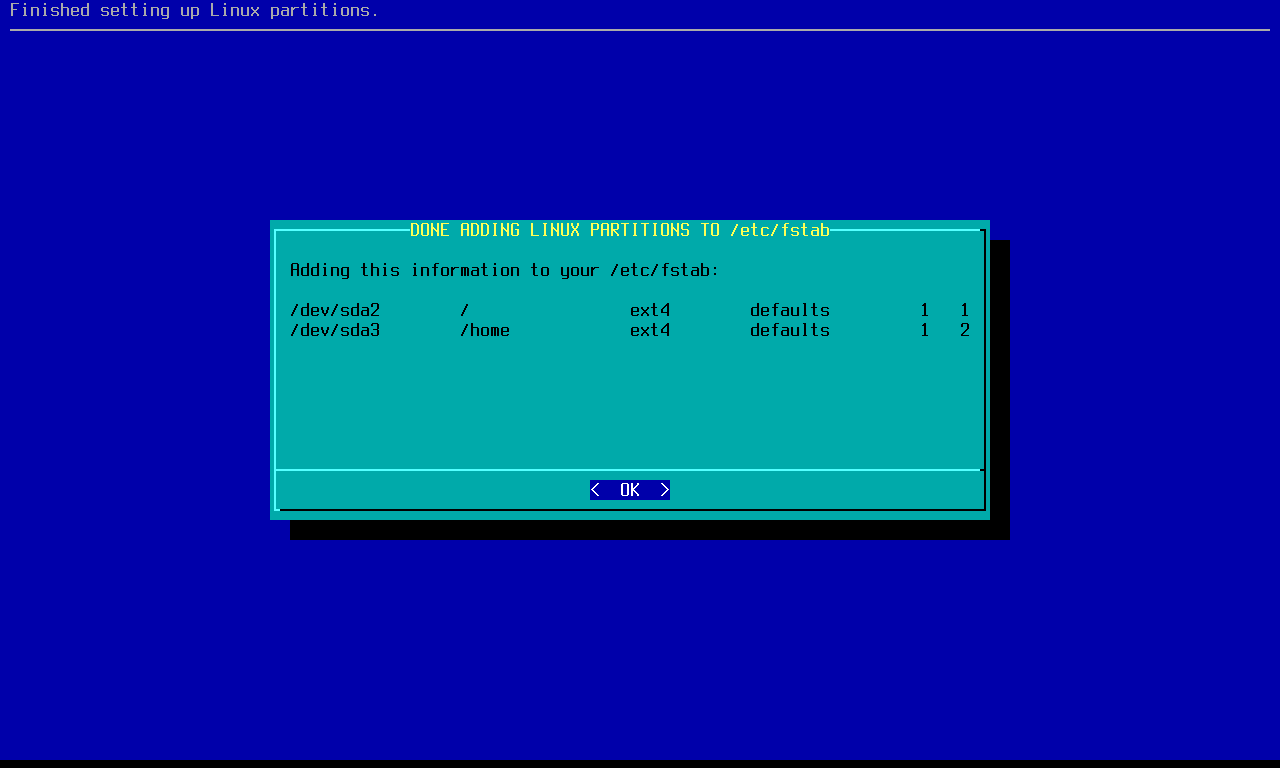
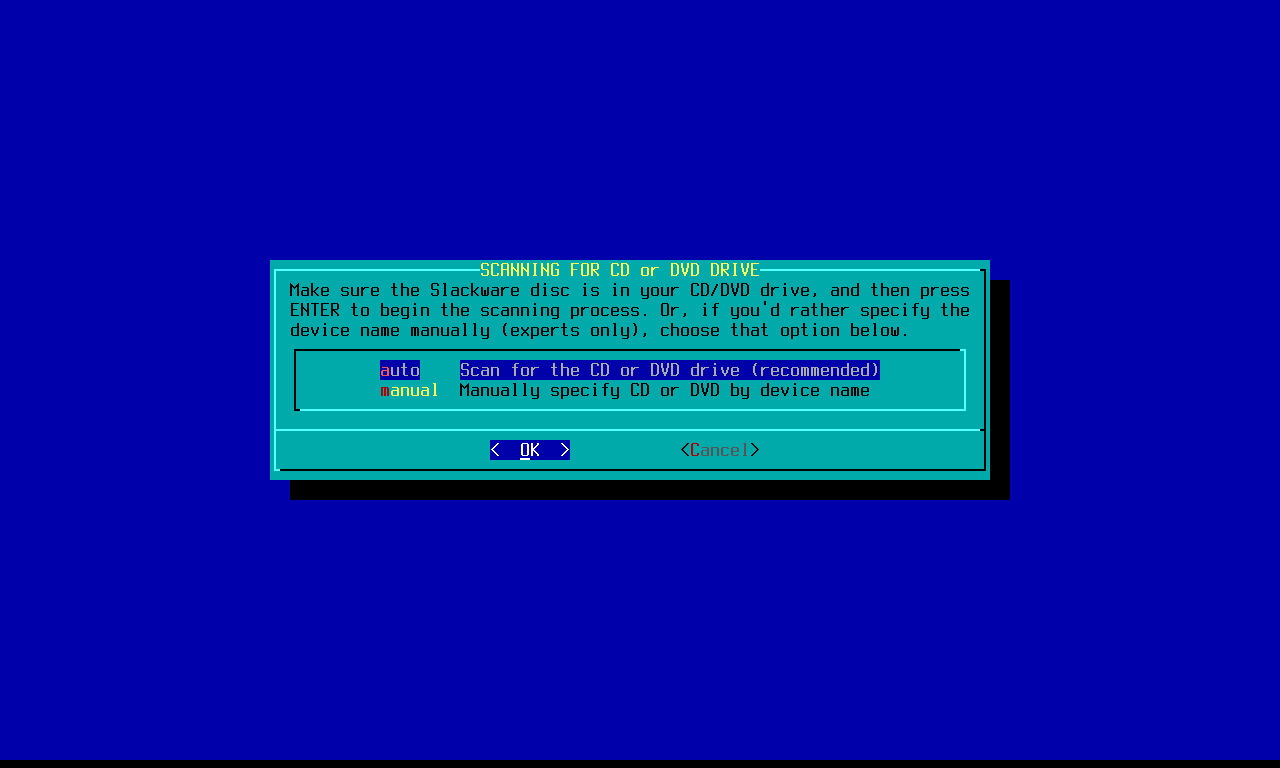
Next you have to choose the source media for the installation. In my case, it is the DVD
Let the wizard auto scan for the DVD
Select the general packages that you want, I kept all except for the KDE ones, since I will be using XFCE for my GUI

I chose the full option for simplicity

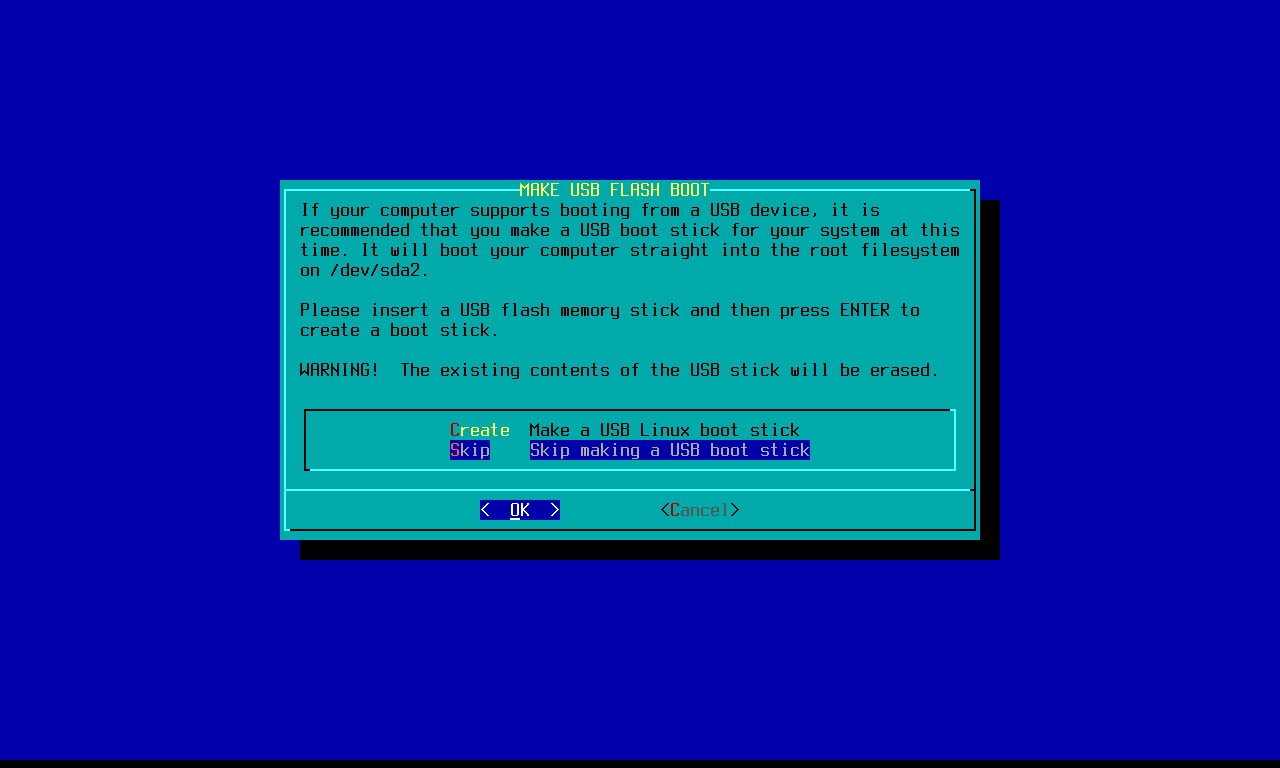
After the installation process, you can create a boot stick if you want, but I skipped it
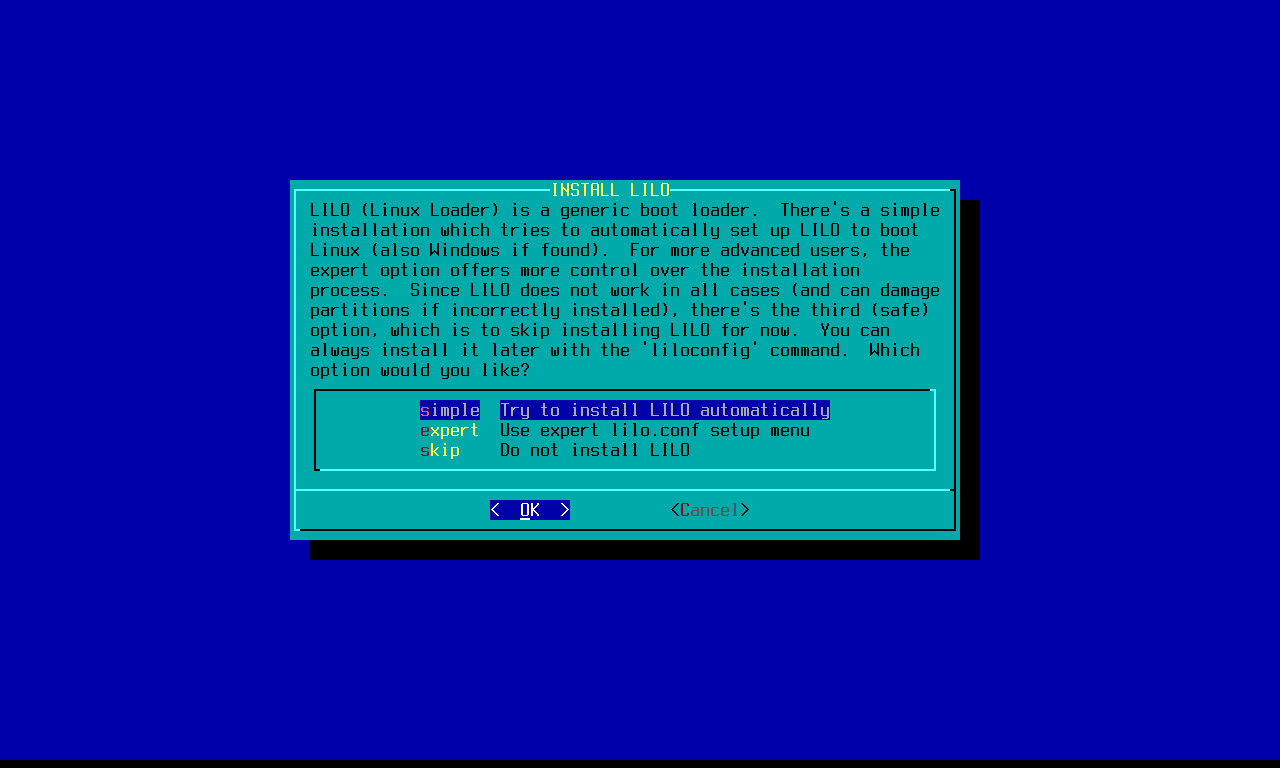
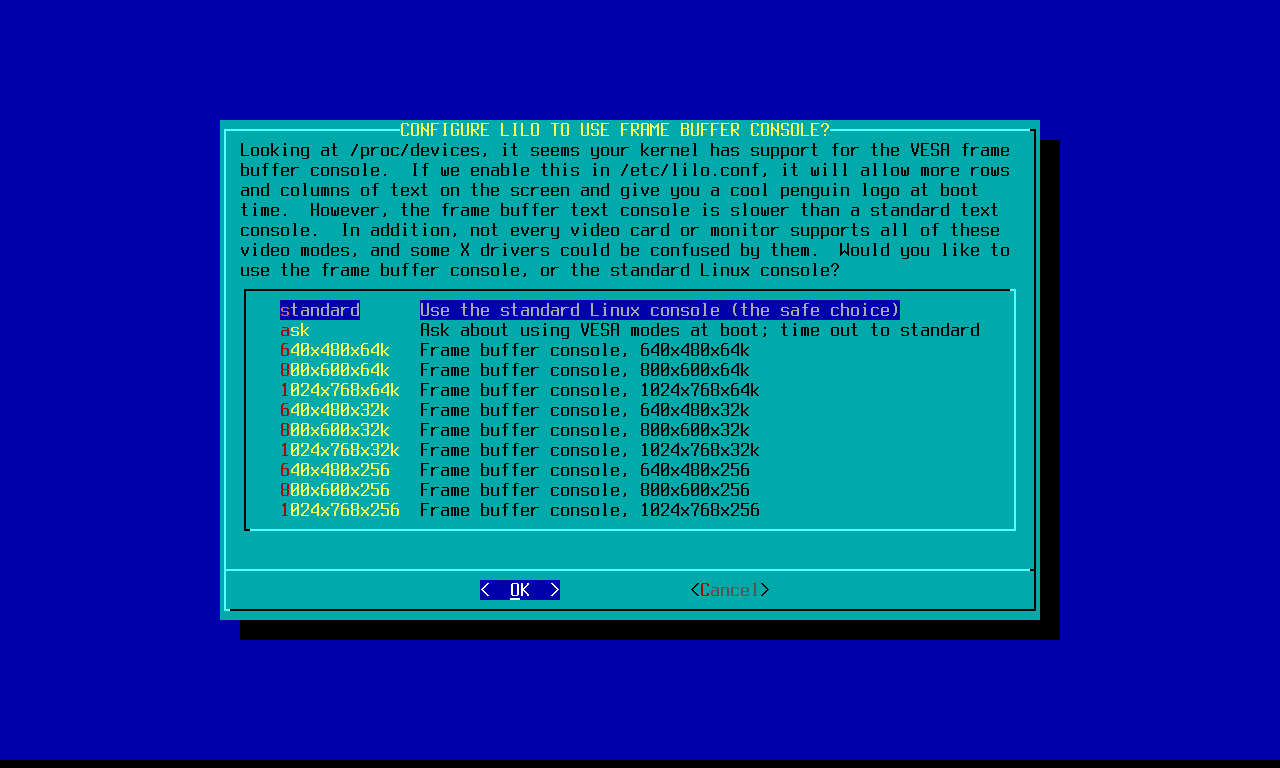
The bootloader used by Slackware is LILO. I selected the simple install and the standard console
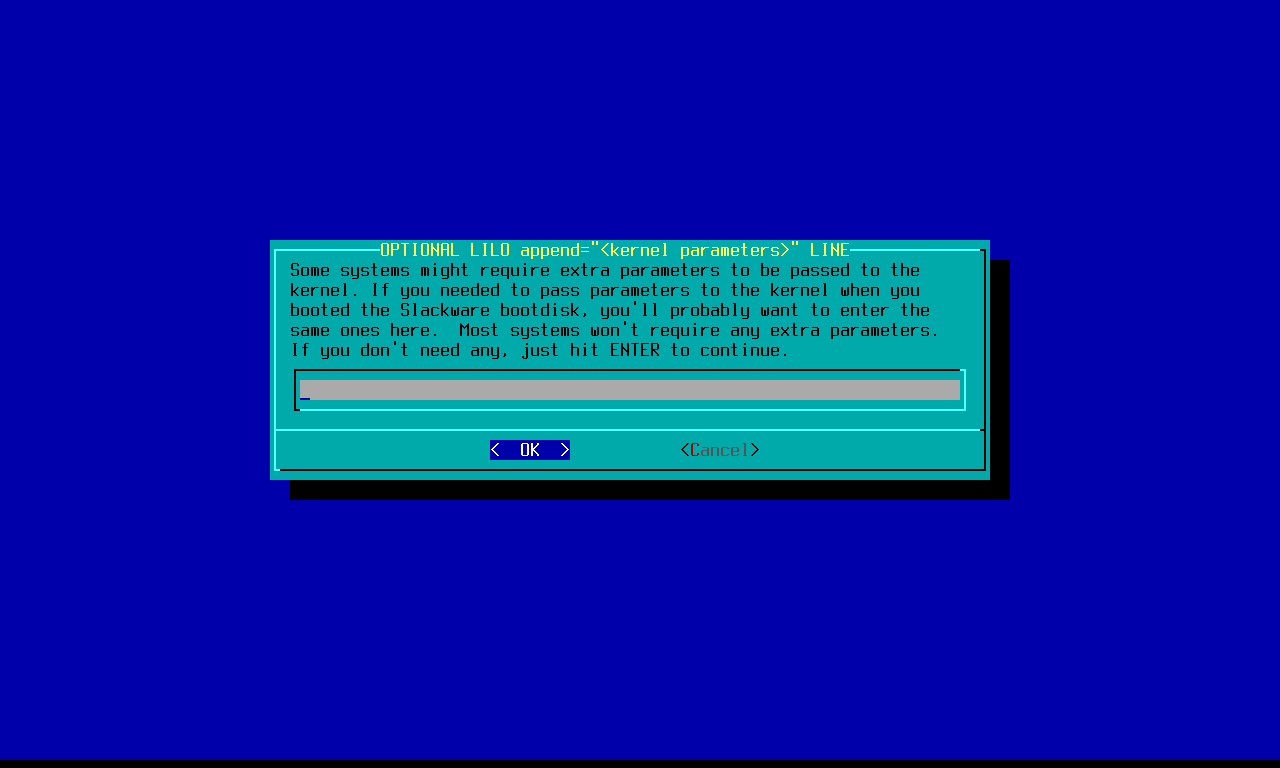
Skip the extra parameters unless you know what you’re doing
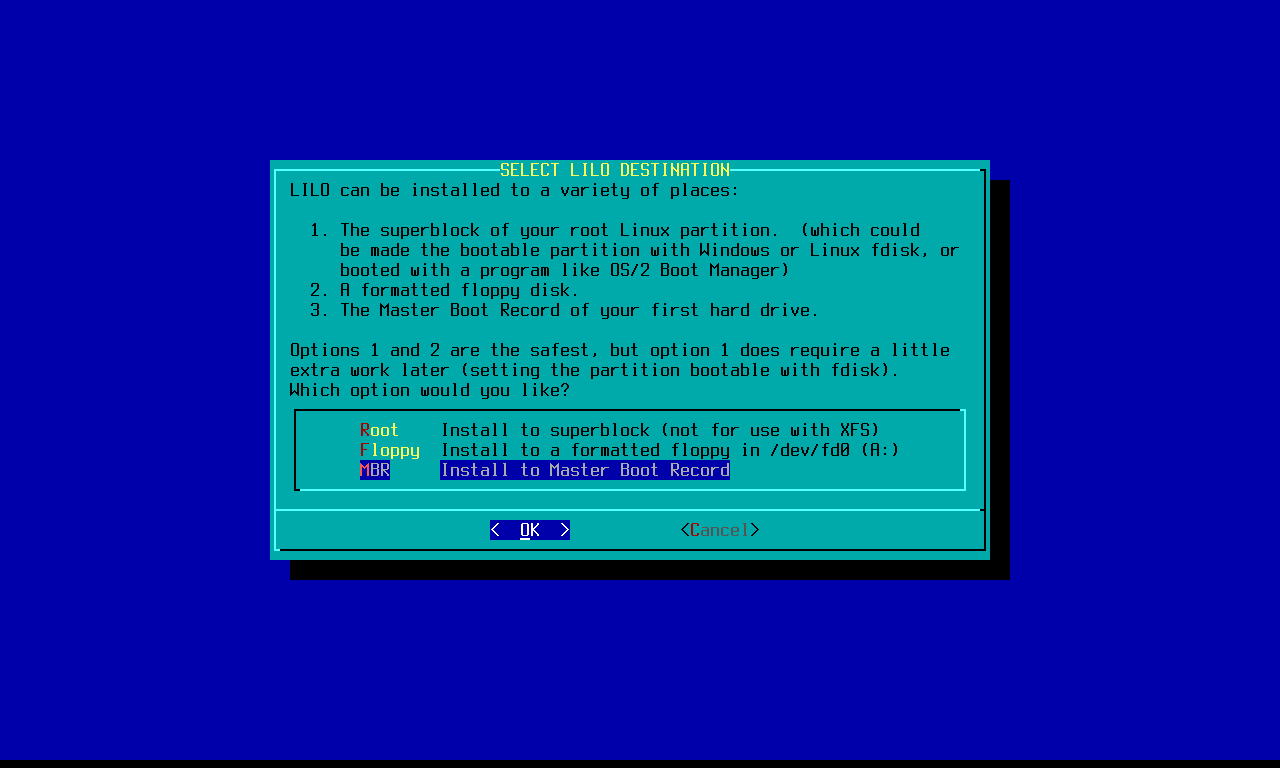
You will next be prompted where to install they bootloader. I chose the MBR, since this is a VM dedicated to Slackware. But if this was on a dual booting system with Windows, you would want to install it on root
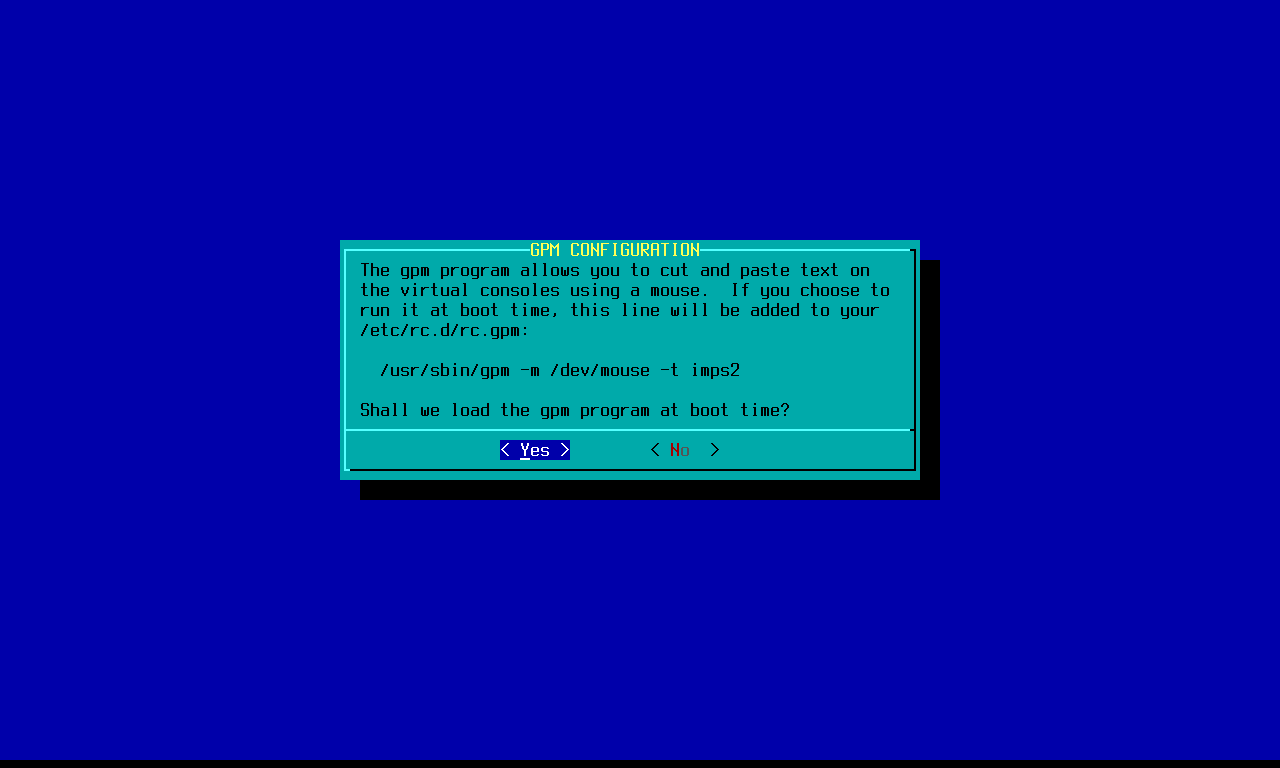
Choose your mouse type

The General Purpose Mouse software provides support for mouse devices in Linux virtual consoles.
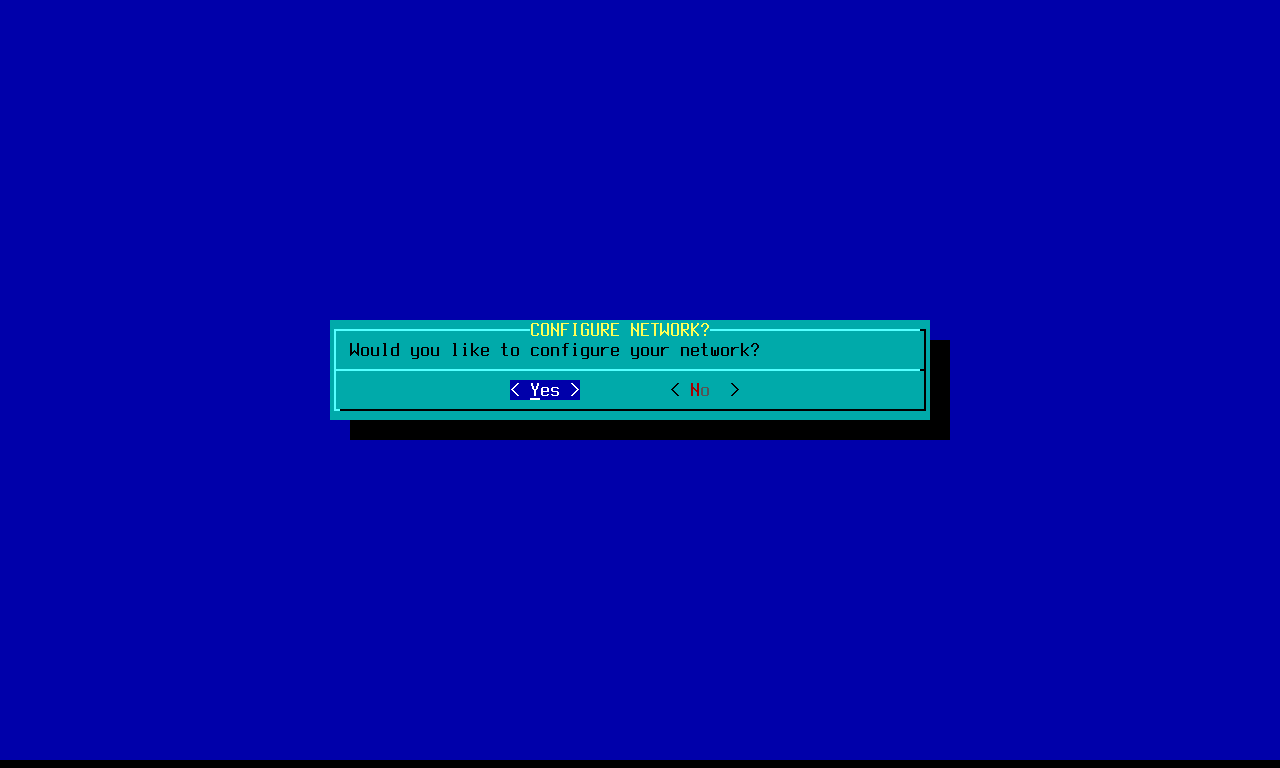
Next is the network configuration
Enter your hostname and domain


For simplicity, I chose the Network Manager configuration
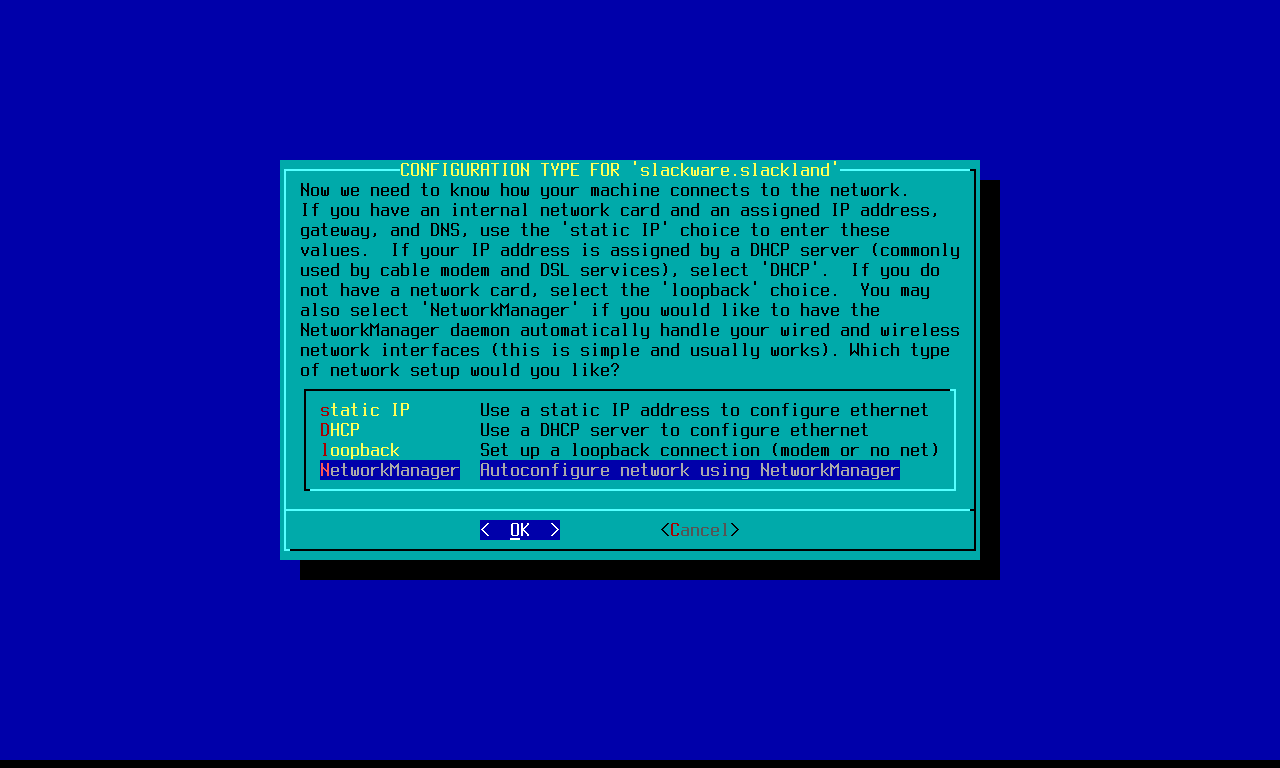
Confirm your choices before continuing
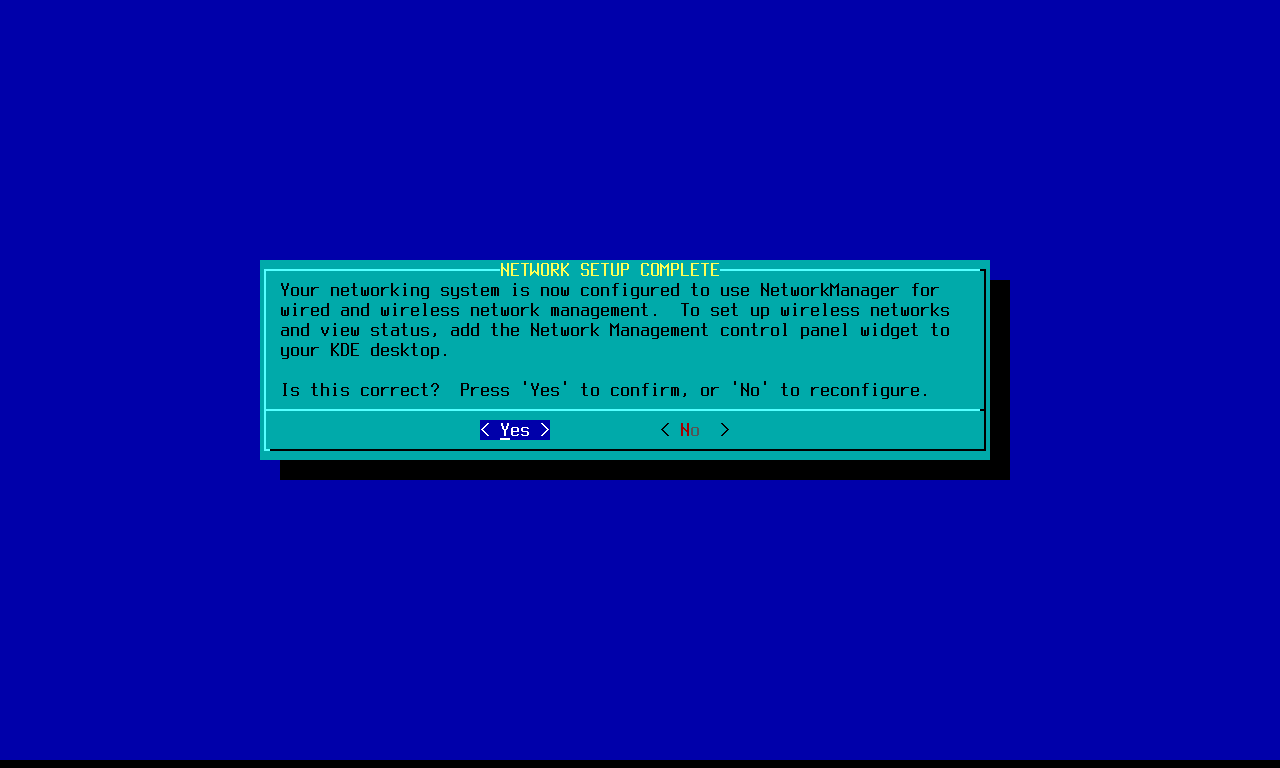
I went with the default startup services. Will add more on a need-to-use basis

You can try custom screen fonts if you want

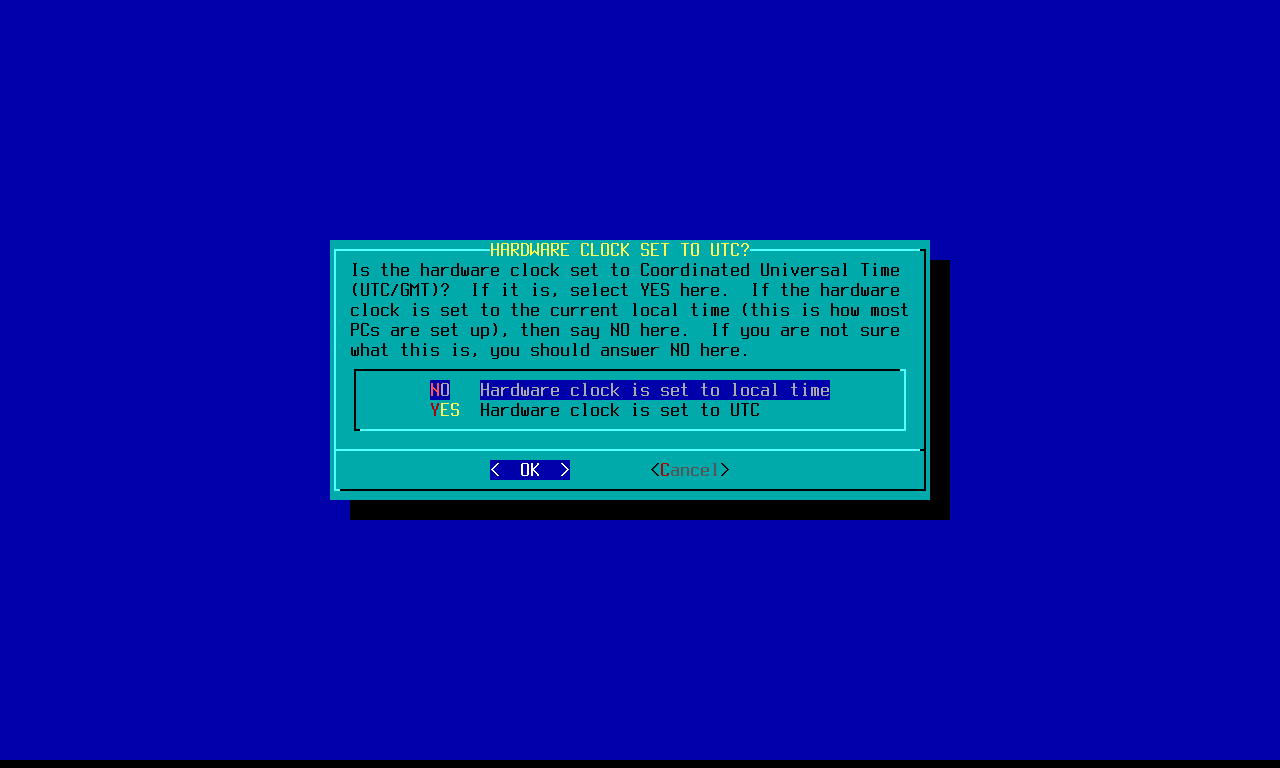
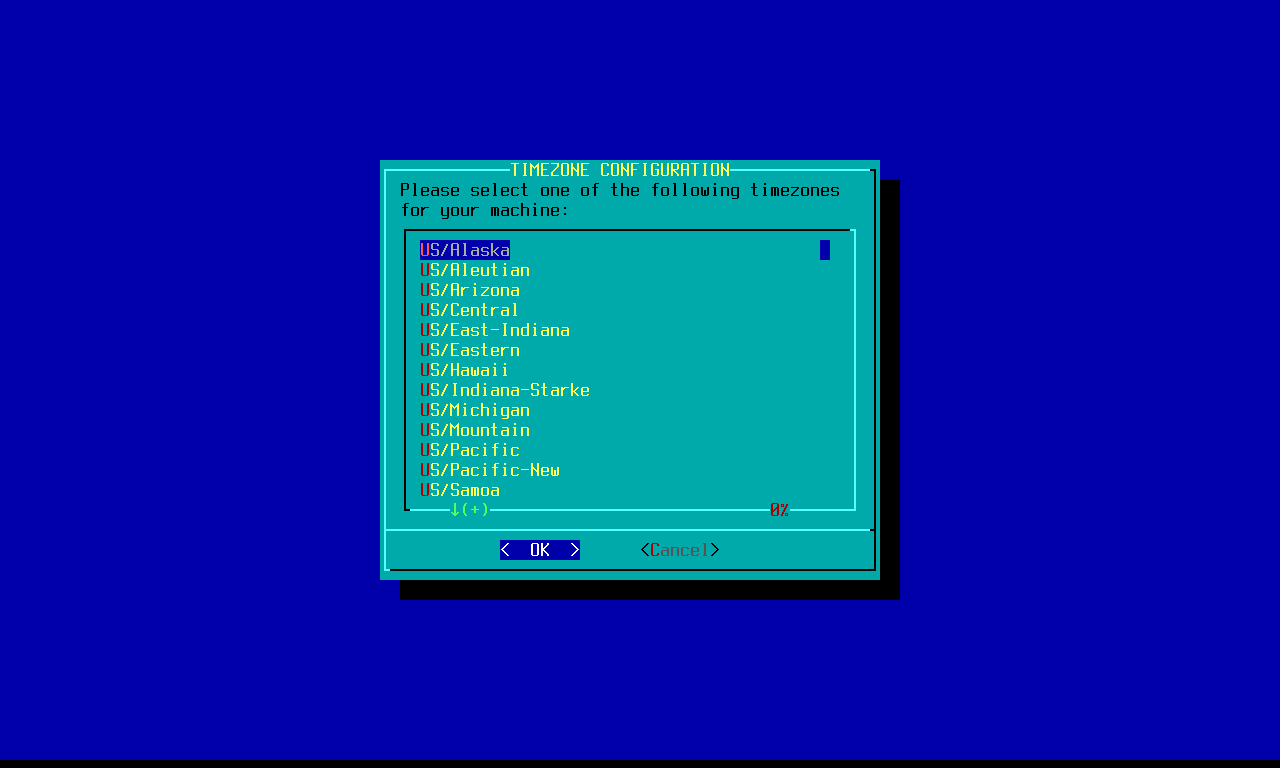
Next is the hardware clock and timezone
For the GUI, I went with XFCE

You will be asked to choose a root password next

With this, the installation setup is complete

Exit the wizard and reboot your brand new Slackware machine. Hit Enter when you see the splash screen, or it will boot automatically in a couple of minutes
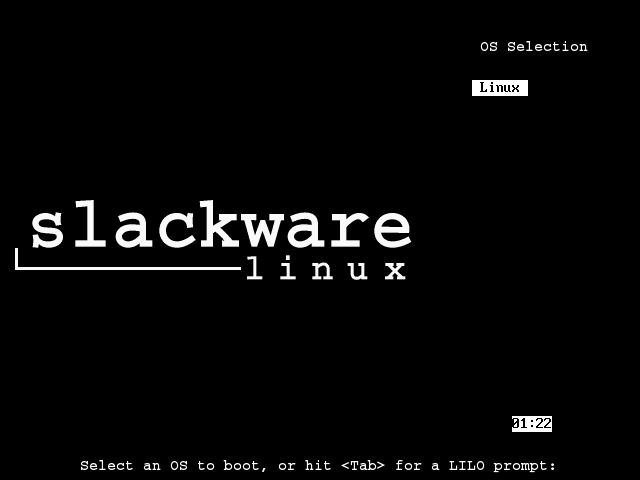
Booting into your system
Slackware doesn’t run the GUI automatically. You can change this by modifying the default runlevel
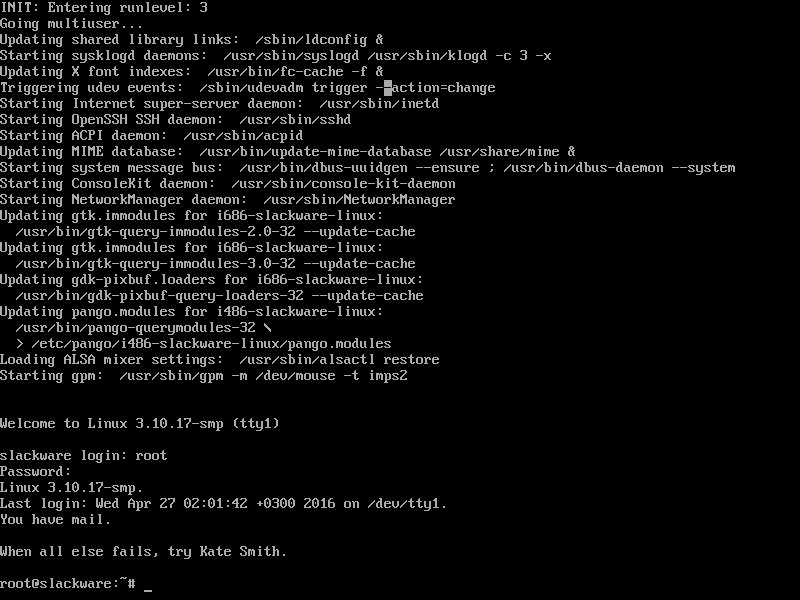
I chose to manually start the GUI so I can read the random quotes that are given at login. You can load the GUI with the startx command

All done! From here you can proceed to use your new distro, or customize it to your liking
1 2 3 4 5 6 7 8 | |